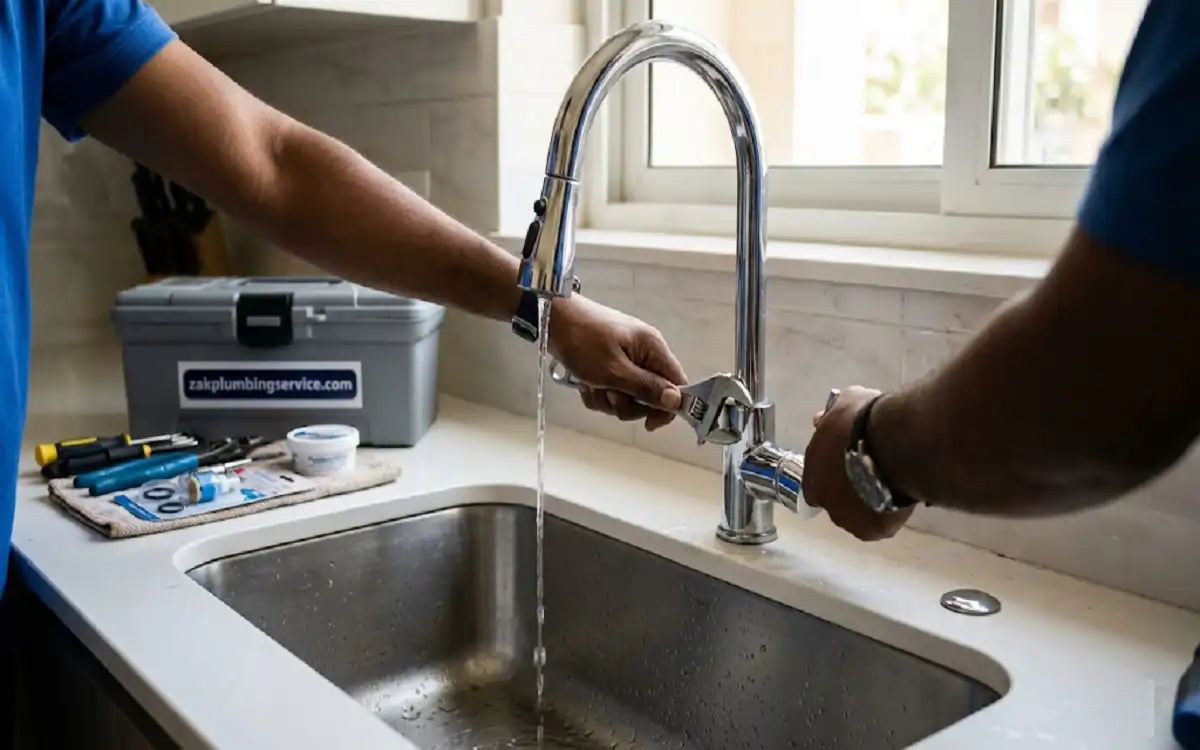
How to fix dripping faucet? Have you ever laid in bed at night only to hear that steady, annoying “drip… drip… drip” coming from the bathroom? It is more than just a sound that keeps you awake. A leaking faucet can waste hundreds of gallons of water over a year, which means you are literally watching your money go down the drain. Many homeowners in 2026 are looking for ways to be more sustainable and save on utility bills, and fixing a leak is the perfect place to start.
The good news is that you do not always need to call a professional plumber for this task. Most modern faucets, including the newer 2026 smart models and classic compression valves, are designed with parts that you can swap out yourself. This guide will walk you through the process so you can get back to your peace and quiet.
Read: Sump Pump Repair: 7 Proven Ways to Save Your Basement Fast
Understanding Why You Have a Dripping Faucet
Before we grab the tools, it helps to know why the leak is happening. Most of the time, the culprit is a tiny rubber part that has finally given up. In older faucets, it is usually a worn-out washer. In newer 2026 models with ceramic cartridges, it might be a small crack in the housing or a bit of sediment that got trapped inside.
If you ignore the problem, the constant moisture can lead to hard water stains or even mold around the base of your sink. Taking an hour of your weekend to address “How to Fix Dripping Faucet” issues will save you a lot of headache later on.
Read: Septic Tank Pumping Services: 7 Essential Benefits for a Worry-Free Home
Step 1: Preparation and Safety First
You cannot work on a faucet while the water is still under pressure. If you do, you will end up with a mini-geyser in your kitchen.
- Turn Off the Water: Look under your sink for the shut-off valves. Turn them clockwise until they stop.
- Drain the Lines: Open the faucet handles to let any remaining water run out. This relieves the pressure so you can safely take things apart.
- Plug the Drain: This is a classic “pro tip.” Use a rag or a sink plug to cover the drain. You do not want a tiny screw falling down the pipe, because getting it back is a nightmare.
Step 2: Disassemble the Faucet Handles
To find the leak, you have to get inside. Most faucets have a decorative cap on top of the handle (often marked ‘H’ or ‘C’).
Use a flat-head screwdriver to gently pop that cap off. Underneath, you will find a screw. Once you remove that screw, the handle should pull right off. If it feels stuck, do not force it too hard, sometimes a little bit of vinegar can help dissolve any mineral buildup that is “gluing” the handle in place.
Read: Hydrojet Drain Cleaning: 5 Proven Benefits for a Perfect Home
Step 3: Inspect the Internal Parts
Now that the handle is off, you will see the “innards” of your faucet. This is where you actually learn How to Fix Dripping Faucet problems.
- For Compression Faucets: You will see a brass stem. Use a wrench to unscrew the packing nut. At the bottom of that stem is a rubber washer. If it looks flattened or torn, that is your leaker.
- For Cartridge/Ceramic Faucets: You will see a plastic or brass cylinder. This is the cartridge. Pull it straight up (you might need to remove a small clip first). Check the O-rings (the rubber loops) for any nicks or damage.
Step 4: Replace the Damaged Components
Once you have the old parts out, the best thing to do is take them with you to the hardware store. Even in 2026, there are hundreds of different sizes for O-rings and washers. Matching them exactly is the only way to ensure the leak stops.
While you are at it, check the “seat” of the faucet (the hole where the stem or cartridge sits). If there is a lot of white crusty stuff (calcium), scrub it away with an old toothbrush and some white vinegar. A clean surface makes for a better seal.

Step 5: Reassemble and Test Your Work
Putting it back together is just the reverse of taking it apart. Slide the new cartridge or washer-equipped stem back into the faucet body. Tighten the packing nut, but do not go crazy, overtightening can actually damage the new rubber parts.
Replace the handle and the screw. Now, turn the water valves under the sink back on slowly. Watch closely for any leaks. If everything stays dry, congratulations! You have successfully mastered the art of the DIY repair.
Read: Hydro Jetting Near Me: 5 Proven Secrets to Instantly Clear Your Pipes
Important Parts and Tools for Faucet Repair
To make your trip to the store easier, here are the things you should keep in mind:
- Adjustable Wrench: This is your best friend for loosening nuts without scratching the finish.
- Screwdriver Set: You will need both Phillip’s and flat-head versions for different handle styles.
- Replacement Washers: These are cheap but vital for older style compression faucets.
- Plumber’s Grease: A tiny bit of this on the O-rings helps everything slide together and last longer.
- New Cartridge: If you have a modern single-handle faucet, replacing the whole cartridge is often easier than fixing tiny parts.
- White Vinegar: Perfect for soaking parts to remove 2026-era hard water deposits.
For More Details Visit Zak Plumbing Service Contact Page