Is there anything more annoying than the sound of a constant drip, drip, drip while you are trying to sleep? Beyond the noise, a how to fix leaking shower head is a silent thief.
In 2026, with water conservation laws like the SHOWER Act becoming more common, a tiny leak can actually lead to surprisingly high utility bills.
The good news? You do not need to be a pro to fix this. Most shower leaks are caused by simple things like mineral buildup or a worn out rubber ring.
If you can use a wrench, you can do this. Here is the ultimate 2026 guide on how to fix leaking shower head problems without spending a fortune on a plumber.
Essential Supplies for Your Repair
Instead of a table, here is the list of items you should grab from your garage or the local hardware store:
- Adjustable Wrench: This is your main tool for loosening the nut without scratching the finish.
- Plumber’s Tape (Teflon Tape): Essential for creating a watertight seal on the threads.
- Replacement O-Rings and Washers: These are cheap rubber parts that often crack over time.
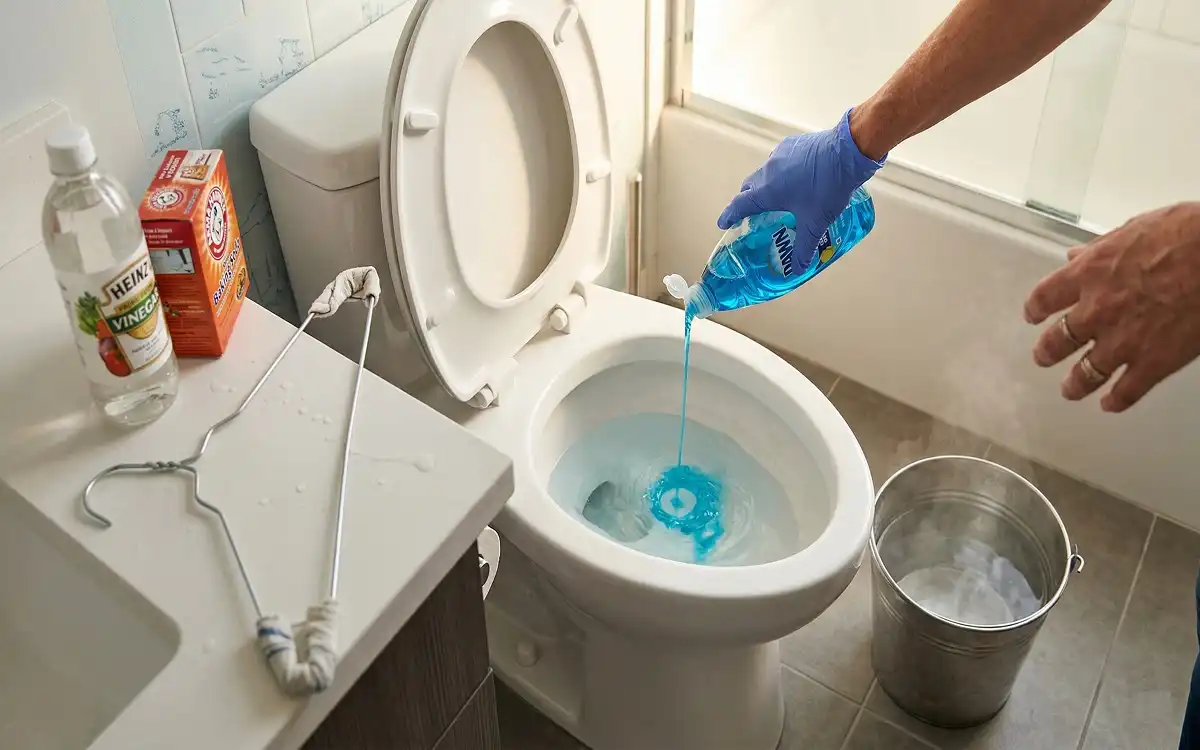
- White Vinegar: In 2026, we prefer eco-friendly cleaning. This dissolves hard water minerals perfectly.
- Old Toothbrush: Great for scrubbing out the tiny holes where the water comes out.
- Microfiber Cloth: To protect the metal finish of your shower from tool marks.
The 2026 Guide: How to Fix Leaking Shower Head
The Impact of a Leak in 2026
Water is becoming more expensive every year. New regulations focus heavily on flow rates and efficiency.
If how to fix leaking shower head is dripping, you aren’t just losing water, you are losing money. Even a slow leak can waste hundreds of gallons a month.
Most people think they need a brand new fixture, but often, the hardware is fine, it just needs a little bit of “tender love and care.”
Common Reasons for a Leaky Shower Head
Why does it happen? Usually, it is one of three things. First, mineral deposits from your water supply can clog the nozzles, forcing water to leak out the sides.
Second, the internal rubber washer or “O-ring” has dried out and cracked. Finally, the plumber’s tape on the pipe threads might have worn away.
Understanding these causes makes the repair much faster.
Step 1: Turn Off the Water
Before you touch anything, make sure the water is off. You don’t want a surprise cold bath! Most showers have a local shut-off valve behind a panel, but if you can’t find it, just turn off the main water valve for the house.
Once it’s off, turn the shower handle to the “on” position to let any leftover water drain out of the pipes.
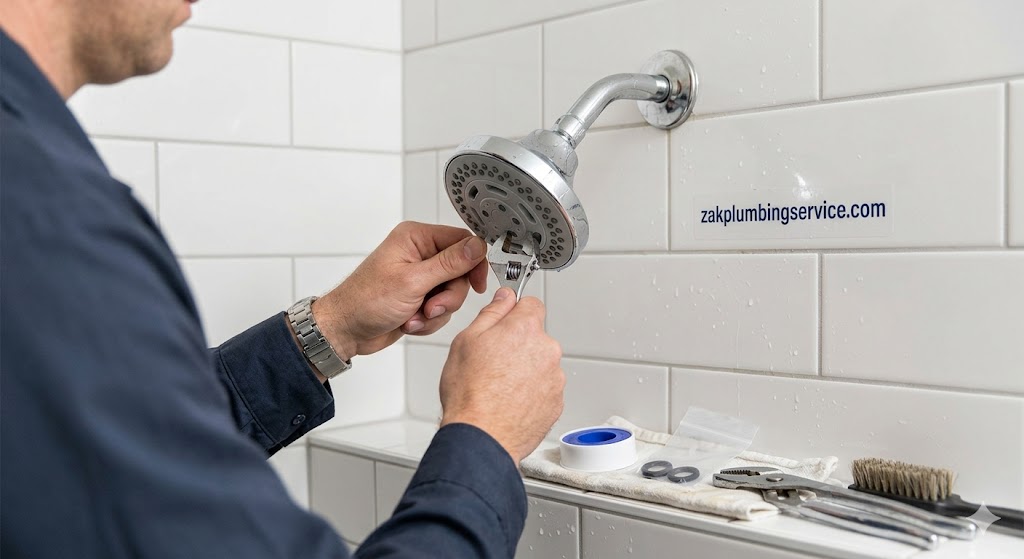
Step 2: Remove the Shower Head
Wrap your microfiber cloth around the base of the how to fix leaking shower head to protect the chrome or nickel finish.
Use your adjustable wrench to gently turn the nut counter-clockwise. Don’t use too much force, you don’t want to snap the pipe in the wall.
Once it’s loose, you should be able to unscrew it the rest of the way with your hands.
Step 3: Deep Clean the Internals
Take a look inside. Do you see white, crusty stuff? That is calcium buildup. Soak the entire how to fix leaking shower head in a bowl of warm white vinegar for about 30 minutes.
After soaking, use that old toothbrush to scrub the nozzles. In 2026, many modern shower heads have “easy-clean” rubber tips, but the vinegar soak is still the best way to clear internal blockages that cause leaks.
Step 4: Check and Replace the Washer
Inside the shower head or on the end of the pipe, you will see a small rubber ring. This is the washer. If it looks flat, cracked, or feels brittle, it is definitely the culprit.
Take the old one to the store to make sure you get the exact right size. Pop the new one in, making sure it sits flush against the seat.
This small part is the most common fix for how to fix leaking shower head issues.
Step 5: Seal and Reassemble
Clean off the old, gunked-up tape from the pipe threads. Wrap new plumber’s tape around the threads in a clockwise direction. Usually, three or four wraps is plenty.
Screw the shower head back on by hand first to avoid “cross-threading,” then give it a final tiny snug with the wrench.
Turn the water back on and check for drips.
When to Call a Professional Like Zak Plumbing
If you have followed these steps and the water is still dripping from the head after you turn the shower off,how to fix leaking shower head the problem might be deeper.
Sometimes, the “cartridge” inside the shower handle is the real issue.
This involves opening up the wall or handle assembly, which can be tricky.
At zakplumbingservice.com, we see this all the time. If your DIY fix didn’t work, or if you just don’t feel comfortable taking things apart, give us a call.
We use the latest 2026 diagnostic tools to find the leak fast, saving you time and ensuring your bathroom stays a “drip-free” sanctuary.
Don’t let a small leak turn into a big headache, sometimes a quick professional touch is all you need.
For More Details Visit Zak Plumbing Service Contact Page